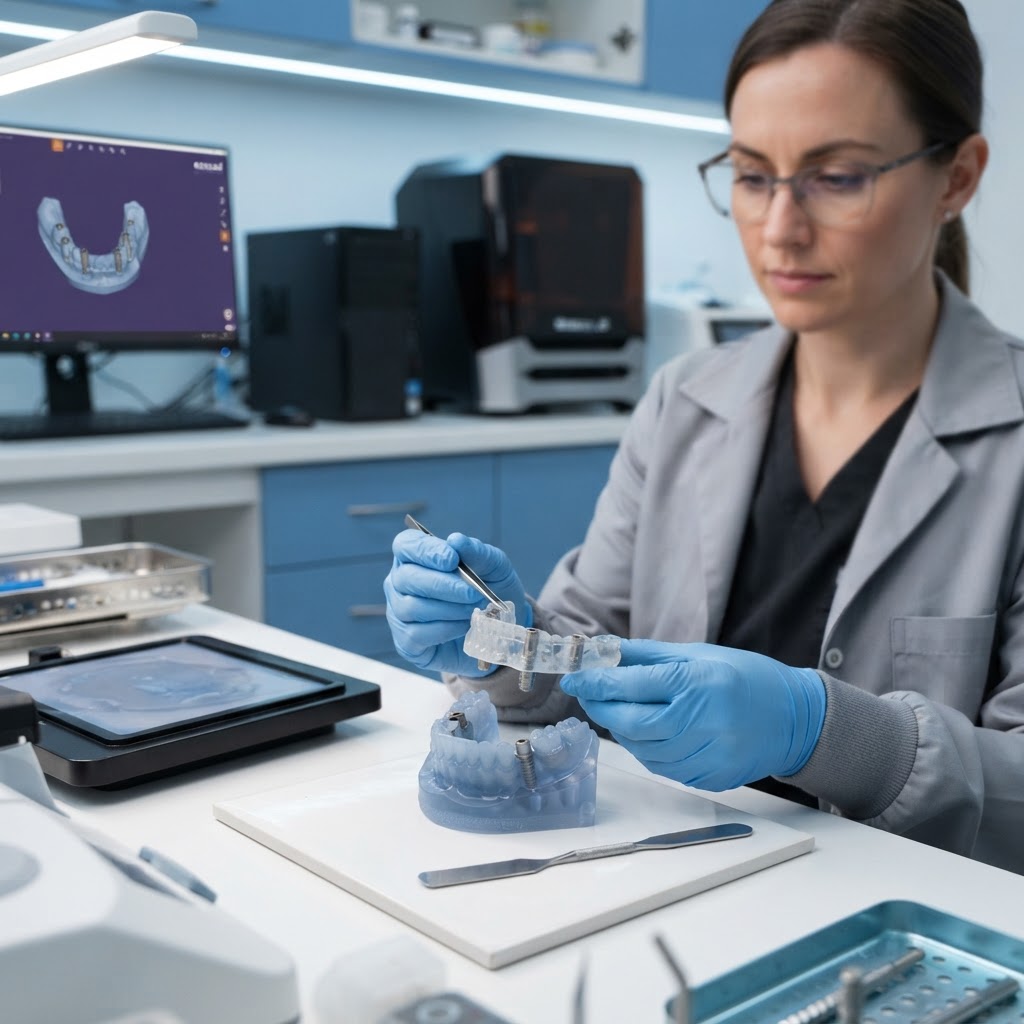
The Evolution of Precision in Implant Dentistry
In the modern era of dental restoration, the transition from freehand implant placement to fully guided surgery represents one of the most significant leaps in clinical safety and predictability. For the premium dental laboratory and the discerning clinician, the focus has shifted from whether to use a surgical guide to how to maximize the accuracy of that guide through every stage of the digital workflow. The promise of guided surgery is simple: to place an implant exactly where the prosthetic plan dictates. However, achieving this requires a rigorous understanding of the variables that influence surgical guide printing accuracy and a seamless integration of digital technologies.
As we navigate 2026, the 'digital thread'—the flow of data from the patient’s chair to the laboratory’s design station and back to the surgical suite—must be unbroken and free of distortion. This article examines the technical nuances of achieving micron-level precision, focusing on data integrity, CAD design parameters, and the material science of 3D printing.
The Digital Foundation: Data Acquisition and Alignment
The accuracy of a surgical guide is fundamentally limited by the quality of the initial data. The integration process begins with the fusion of two distinct data sets: the DICOM (Digital Imaging and Communications in Medicine) files from a Cone Beam Computed Tomography (CBCT) scan and the STL (Standard Tessellation Language) or PLY files from an intraoral scanner (IOS).
CBCT and IOS Synergy
To ensure a high-fidelity guide, clinicians must prioritize the following during data acquisition:
- Elimination of Motion Artifacts: Even minor patient movement during a CBCT scan can lead to 'ghosting' or blurring of the cortical bone, making accurate segmentation nearly impossible.
- Scanner Calibration: Intraoral scanners must be calibrated regularly to avoid 'stitch errors,' where the software incorrectly joins segments of the dental arch, leading to a guide that fits the model but rocks in the mouth.
- Radiopaque Markers: In edentulous cases, the use of a dual-scan protocol with a stable, marker-laden scanning appliance is essential for aligning the soft tissue topography with the underlying bone structure.
The alignment process in software like exocad or 3Shape requires the identification of common 'anchor points.' Laboratories should utilize at least three to five widely spaced points to ensure a stable coordinate system. A misalignment of even 0.5mm at the crown can translate into a several-millimeter discrepancy at the implant apex, risking damage to vital structures such as the inferior alveolar nerve or the maxillary sinus.
CAD Design: Navigating Tolerances and Offsets
Once the data is merged, the design phase begins. This is where the laboratory technician bridges the gap between the virtual plan and the physical reality. A common mistake is treating the surgical guide as a static object rather than a precision tool with specific mechanical tolerances.
The Offset Equation
Every 3D printer and resin combination has a unique 'shrinkage profile.' To account for this, technicians must adjust the 'offset' settings in the CAD software. The offset represents the space between the surgical guide and the teeth or the metal sleeve. If the offset is too tight, the guide will fail to seat fully; if it is too loose, the guide will lack stability, leading to drill chatter and angular deviation.
Sleeve Design and Tube Height
The selection of the master sleeve is critical. Modern workflows are moving toward 'sleeveless' guides for certain systems to reduce the stack height, but sleeved guides remain the gold standard for durability. The 'tube height'—the distance from the top of the guide to the implant platform—must be meticulously calculated to ensure the surgical drills reach the intended depth without premature contact. High-end labs now use automated validation tools within their CAD software to check for wall thickness, ensuring the guide does not flex or fracture under the torque of the implant motor.
3D Printing Technologies: DLP vs. SLA in the Lab
The choice of hardware is the next pillar of accuracy. In the current market, two technologies dominate: Stereolithography (SLA) and Digital Light Processing (DLP).
- DLP Printing: Highly favored for surgical guides due to its speed and XY resolution. Because DLP projects an entire layer of light at once using a micromirror device, it ensures consistent light intensity across the entire build plate, reducing the risk of peripheral distortion.
- SLA Printing: Uses a laser to draw each layer. While SLA can produce extremely smooth surfaces, the laser's pathing can sometimes lead to minor dimensional inaccuracies over the length of a full-arch guide if the printer is not perfectly calibrated.
- LCD (MSLA): The emerging standard for high-throughput labs, offering excellent resolution at a lower price point, provided the light source is uniform.
Regardless of the technology, the layer height is a crucial variable. While 50 microns is the standard for high-detail work, some labs opt for 100 microns for speed. However, thicker layers can result in 'stair-stepping' on the internal surfaces of the guide, which may interfere with the intimate fit required for tooth-borne templates.
Material Science: Biocompatibility and Stability
Surgical guides are classified as Class IIa or Class VI medical devices, requiring biocompatible resins that can withstand the oral environment and, in many cases, the high temperatures of an autoclave. Accuracy is not just about the print; it is about the material's stability over time.
Premium resins, such as those from Keystone or NextDent, are engineered to minimize post-print shrinkage. However, all resins are subject to some degree of polymerization shrinkage. To mitigate this, guides should be printed at an angle (typically 45 degrees) to reduce the cross-sectional area of each layer and minimize the 'suction cup' effect during the build process. This orientation also ensures that the critical internal surfaces of the guide are not supported by 'nubs' or support structures, which would require manual finishing and potentially compromise the fit.
The Post-Processing Protocol: A Non-Negotiable Step
The printing process does not end when the build plate rises. Post-processing is perhaps the most overlooked factor in surgical guide accuracy. A guide that is not properly washed or cured will remain 'soft,' leading to dimensional instability and a potential lack of biocompatibility.
Washing and Drying
Residual liquid resin must be thoroughly removed using 91%+ Isopropyl Alcohol (IPA) or specialized cleaning agents. Excess resin trapped inside the guide's sleeves or tooth-wells will cure during the final step, creating an 'over-cured' surface that prevents proper seating. Compressed air should be used to dry the guide completely before UV curing.
Final UV Curing
The final cure in a validated UV oven (such as the Otoflash or FormCure) is what gives the resin its final mechanical properties. Without this step, the guide may warp over 24-48 hours. Labs must follow the resin manufacturer’s specific curing times and temperatures to ensure the material reaches its full flexural strength and dimensional stability.
Clinical Integration: Closing the Feedback Loop
The ultimate test of a surgical guide occurs chairside. The integration of the digital workflow is only successful if there is a feedback loop between the surgeon and the lab. At Cosmetic Smile Studio, we recommend a 'dry fit' of the guide before the patient is anesthetized. This allows the clinician to verify the 'snap-fit' and check for any blanching of the soft tissue.
Common troubleshooting tips for the clinic include:
- Checking Interproximal Contacts: If a guide doesn't seat, it is often due to tight interproximal contacts that weren't adequately captured in the scan.
- Evaluating Soft Tissue: In tissue-borne guides, ensuring the patient has not had significant gingival changes between the scan and the surgery is paramount.
- Sleeve Inspection: Ensure the metal sleeve is flush with the resin; any protrusion will alter the drilling depth.
Conclusion: The Future of Guided Excellence
Achieving micron-level accuracy in surgical guide production is a multi-disciplinary challenge that rewards precision at every step. By mastering the nuances of data alignment, optimizing CAD offsets, selecting the right printing hardware, and strictly adhering to post-processing protocols, laboratories can provide clinicians with the confidence to perform complex implant surgeries with predictable, prosthetic-driven results. As digital technologies continue to evolve, the integration between the clinic and the lab will only become more seamless, making guided surgery the baseline standard for all implant procedures. Partner with a laboratory that understands these technical intricacies to elevate your clinical outcomes and ensure patient safety.
Ready to experience the difference that precision-milled and printed guides can make in your practice? Contact Cosmetic Smile Studio today to discuss your next guided case and discover how our advanced digital workflow can streamline your implant success.